
How to connect Codex Desktop to Apily
Connect the Codex desktop app to Apily with one personal configuration: your Apily key, a local model catalog for the picker and a new local Codex chat.
https://api.apily.pro/v1apily_your-api-key1. Install the official desktop app
- Install the official app from OpenAI's Codex app page.
- Open the installed app once.
- Fully quit the app before editing its configuration; save any open work first.
2. Save the Apily model catalog
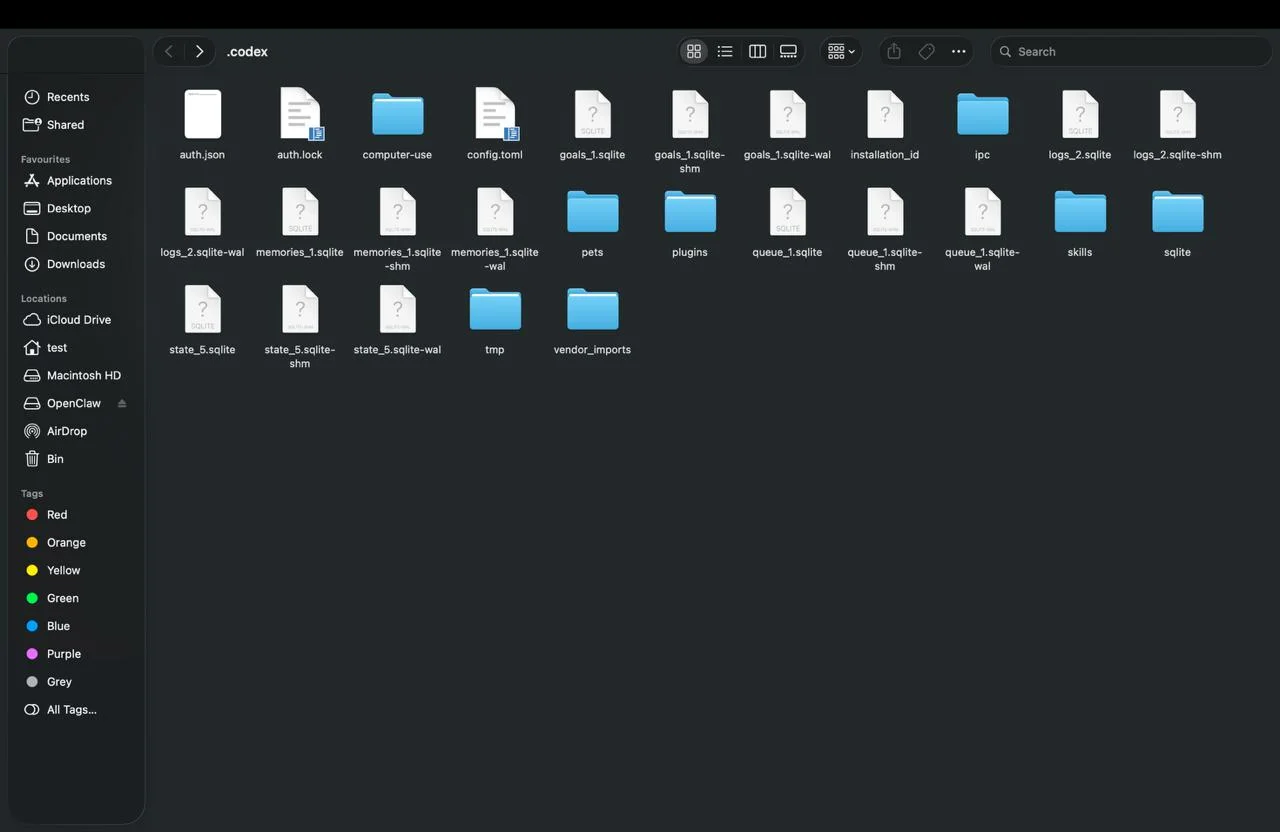
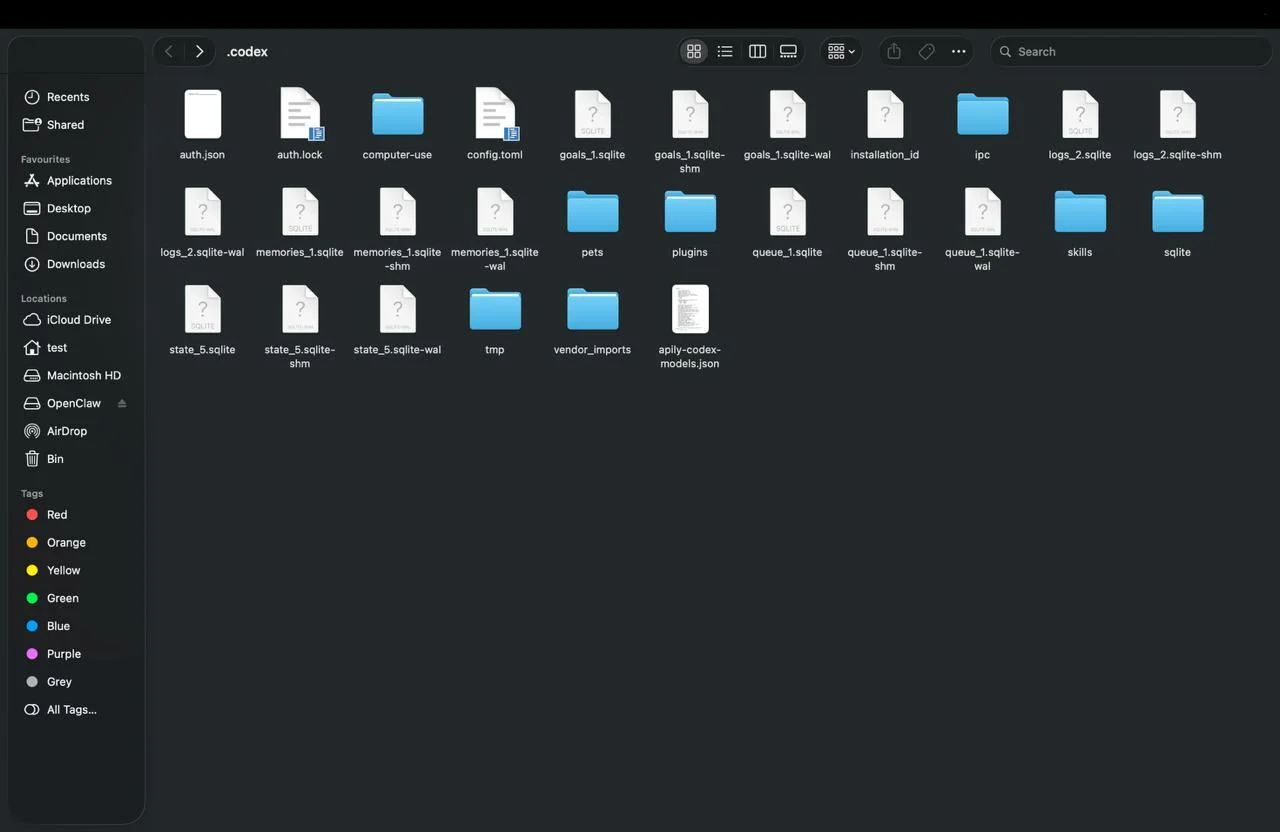
- Open your personal
~/.codexfolder, or%USERPROFILE%\.codexon Windows. Create it if absent. - Save the catalog in that folder as apily-codex-models.json using the download link: Download the model catalog.
- Copy the catalog’s full absolute path for
model_catalog_json; do not use a relative path or~.
3. Add your personal configuration
Use your personal ~/.codex/config.toml (%USERPROFILE%\.codex\config.toml on Windows), not the project config. If CODEX_HOME is set, use config.toml in that directory.
- Make a private backup of the existing configuration before editing it. If absent, create the personal directory and file.
- Merge this example without replacing unrelated settings or duplicating keys. Keep the top-level settings before the first
[table].Personal config.tomlmodel = "gpt-6.1-terra" model_provider = "apily" model_reasoning_effort = "low" model_catalog_json = "/ABSOLUTE/PATH/apily-codex-models.json" web_search = "disabled" [model_providers.apily] name = "Apily" base_url = "https://api.apily.pro/v1" wire_api = "responses" experimental_bearer_token = "apily_your-api-key" requires_openai_auth = false supports_websockets = false - Replace the sample key in the provider table with your own Apily key. How to create a key.
- Replace
model_catalog_jsonwith the copied absolute path. For Windows paths, use a TOML single-quoted literal string so backslashes remain unchanged. - Save the configuration file.
/v1 exactly once in the base URL; do not append /responses. Preserve wire_api = "responses" and supports_websockets = false.4. Open a local chat
Open the Apily model catalog and current prices — Compare current prices before testing: use the lowest-cost compatible model in the supplied catalog. The example ID is not a price or availability guarantee.
- Reopen the desktop app.
- Open a local project in the Codex workspace, not a cloud task.
- Start a new local Codex chat.
- Select the chosen catalog model in a new local chat; start with Light (
low) reasoning if supported.
5. Verify the connection
- Send this prompt in the client chat.Codex Desktop · prompt
Reply with exactly OK. Do not use tools. - Confirm that the client’s answer is exactly OK.
- In Apily, open Usage → Request log and find this paid request by time, model and API key. Inspect its Cost and cost breakdown. Open Usage.
6. Optional: models, catalog and environment key
The downloaded catalog adds these Apily model IDs to the Codex picker. It contains complete Codex model records, so you do not need to build a model list by hand.
gpt-6.1-terra— default in this guidegpt-6-astra·gpt-6-luna·gpt-6.1-sol— choose it in the model picker of a new Codex chat
To change the startup model, edit the top-level model value to a catalog ID. Start a new local chat after changing the model or provider.
When you get an updated catalog, replace the file at the same path and restart Codex. Leave model_catalog_json pointing to that file. Existing chats may keep their previous model, so start a new chat after the change.
/v1/models returns a general API inventory, while Codex expects a different catalog format. Do not point model_catalog_url at that endpoint or save its response as the catalog.In a managed environment, replace only the experimental_bearer_token line inside the existing Apily provider table with:
Remove experimental_bearer_token; do not configure both methods. Pass APILY_API_KEY securely to the process that actually launches Codex. A variable set only in a terminal is not visible to an app opened from the Dock, the Start menu or an already running editor. Fully restart the app after updating its launch environment.
env_key = "APILY_API_KEY"Codex CLI on the same computer reads the same personal configuration. Open your project directory and run codex. Use /status to check the provider and model, and /model to choose a catalog model. Windows, WSL and remote machines have their own home directories; configure the environment where Codex actually runs.
Troubleshooting
| Symptom | Cause | Fix |
|---|---|---|
| TOML parse error or duplicate key | A key or table is defined twice, or the quotes are wrong. | Keep one definition of each key and table. Use a plain-text editor and straight quotes, and single-quoted literal strings for Windows paths. |
| Models missing from the picker | Codex cannot read the catalog. | Check that the file exists at the absolute model_catalog_json path, that the setting comes before all table headers and that the file is JSON, not HTML or .json.txt. Restart the app. |
| Wrong model or provider | The provider is not set at the top level, or a launch override wins. | Confirm the top-level model_provider = "apily" and a matching [model_providers.apily] table. Quit and reopen the app, start a new local chat and remove conflicting launch overrides. |
| WebSocket or streaming error | The connection tries WebSockets, or a proxy breaks streaming. | Keep supports_websockets = false to stream over HTTPS. Check your network and proxy, then retry in a new chat. |
404 Not found | https://api.apily.pro/v1 — The Base URL must include /v1 exactly once and must not end in /responses. Keep wire_api set to responses. | Base URL: https://apily.pro/v1 — every request must land on a path Apily serves (/chat/completions, /responses, /models, …). |
401 Missing API key | No auth header was sent. | Apily accepts Authorization: Bearer … and x-api-key: …. |
401 Invalid API key | Key copied with stray spaces, truncated, or revoked. | Copy the entire key from API in your Apily account, including the apily_ prefix, without extra spaces. |
403 Email not verified | Your Apily account's email address isn't verified yet. | Verify your email from the banner in the Apily app, then retry. |
402 Insufficient balance | Your token balance can't cover the request's estimated cost. | Top up your balance on the Billing page in your Apily account. |
503 Model temporarily unavailable | The model exists, but no upstream provider is reachable right now. | Retry in a moment — it usually recovers within a minute. Switch models if it keeps happening. |
Return to your previous provider
- Fully quit the app before editing its configuration; save any open work first.
- Restore only the settings changed for Apily from your private backup. Without a backup, remove only the added Apily table and restore your previous top-level model, provider, catalog, reasoning and web-search values; do not delete the Codex directory or credentials.
- Reopen the desktop app.
Official sources
Codex desktop app · Connect Codex to a gateway · Configuration reference